My recent experience with a local lab was utterly frustrating, to say the least. I dropped off a roll of black-and-white Kodak T-Max 400 and the resulting scans were poor. The grain was excessive, harsh and unappealing.
While I could find another lab with better performance, instead I decided to take control of the process myself.
I decided to scan my negatives at home.
Why Camera Scanning
Dedicated desktop scanners are expensive: checked some from Plustek and was not impressed with the price tags. Furthermore, I was not into having another device plugged to my Mac, cluttering my desktop.
Camera scanning — shooting the negative with a digital camera paired with a macro lens — made sense to me, since I have so many cameras…
Under this category, you can buy or build a reproduction stand, where a camera is mounted vertically on a rigid structure over a backlight surface where you place your film. But it takes up too much space, so I scratched the idea.
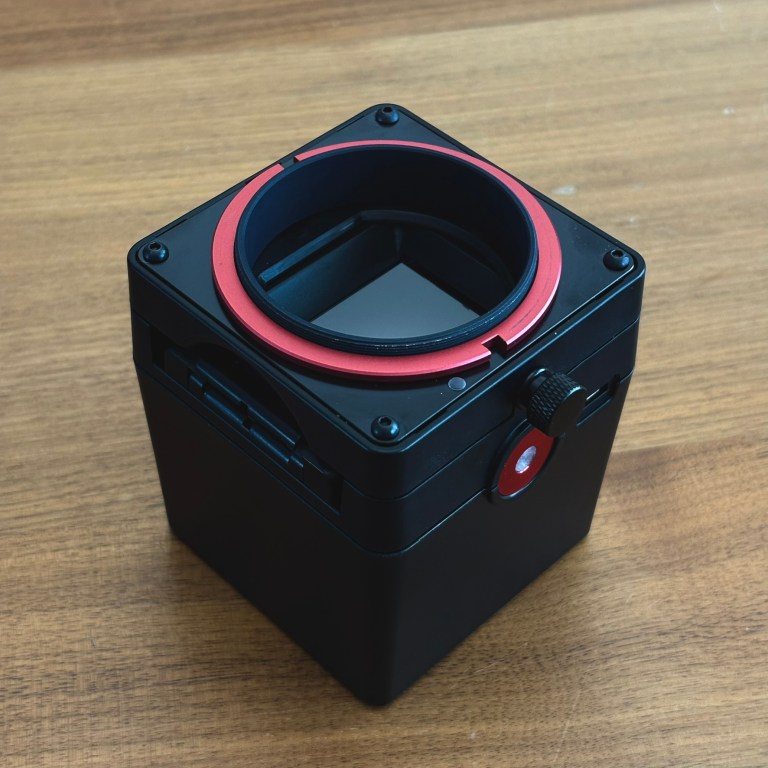
I went for a lighter and portable solution: a film scanning kit, which is basically a small film chamber with a backlight and a bunch of extension tubes that attach to the front of your lens.
After some research, I ordered the Valoi easy35 v2, from Finland.
Why Valoi
I found several scanning kits in Taobao (Chinese equivalent of Amazon, but on steroids) which were about half the price of Valoi. I was tempted, but then I read comments about uneven backlight and faulty film holders resulting in misaligned negatives, not totally parallel to the camera.
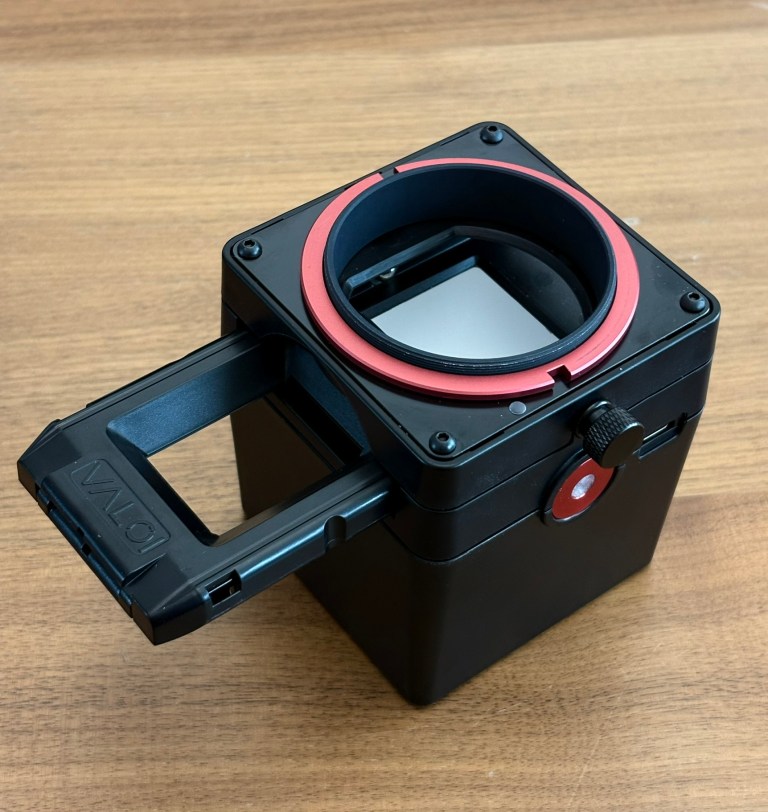
I decided to pay more. I purchased the Valoi easy35 v2 film chamber core unit (€ 229) along with two optional accessories:
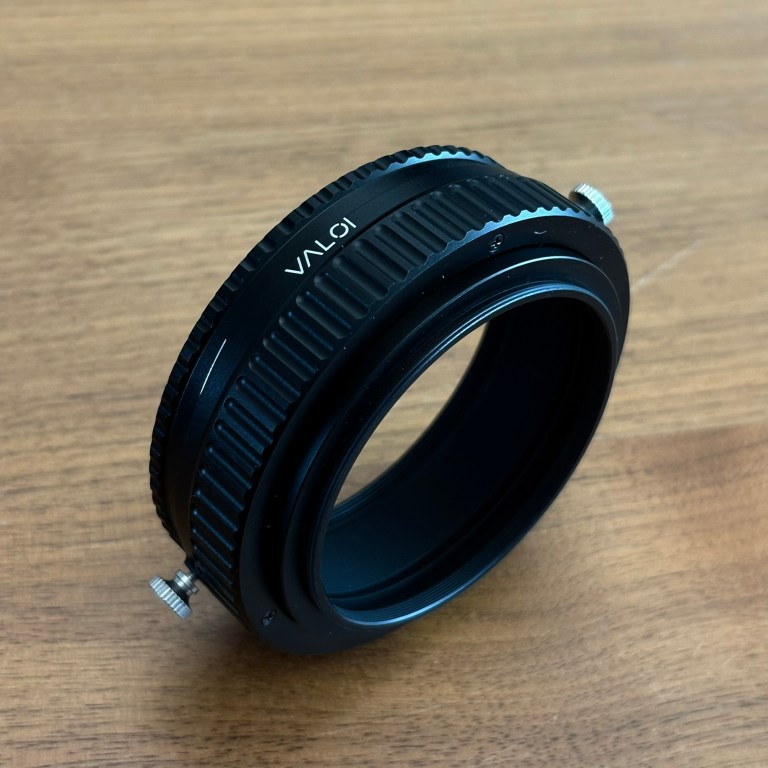
The easy35 Precision Framing Helicoid (€ 79): for micro-adjustments to the camera height against the negative holder for precise framing.
The easy35 v2 Duster (€ 45): a brush attachment that cleans negatives as they slide into the chamber.

Unboxing
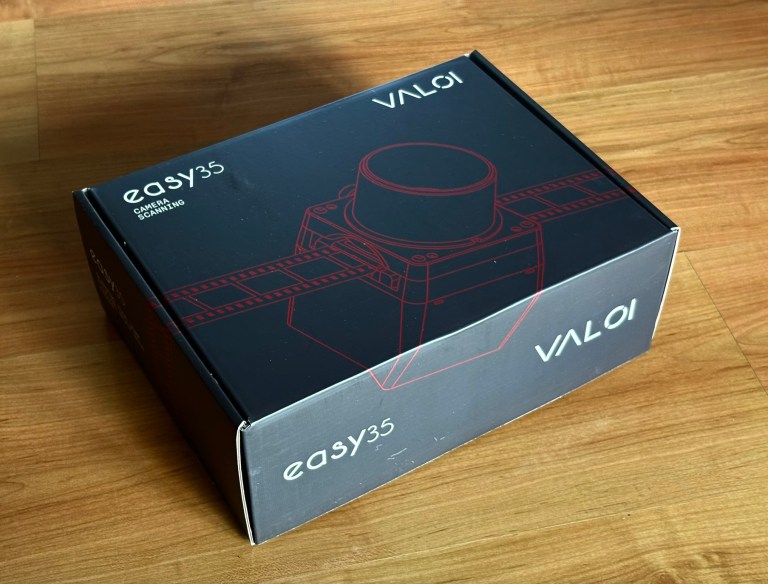
The easy35 v2 packaging is well-organized. Inside, you will find:
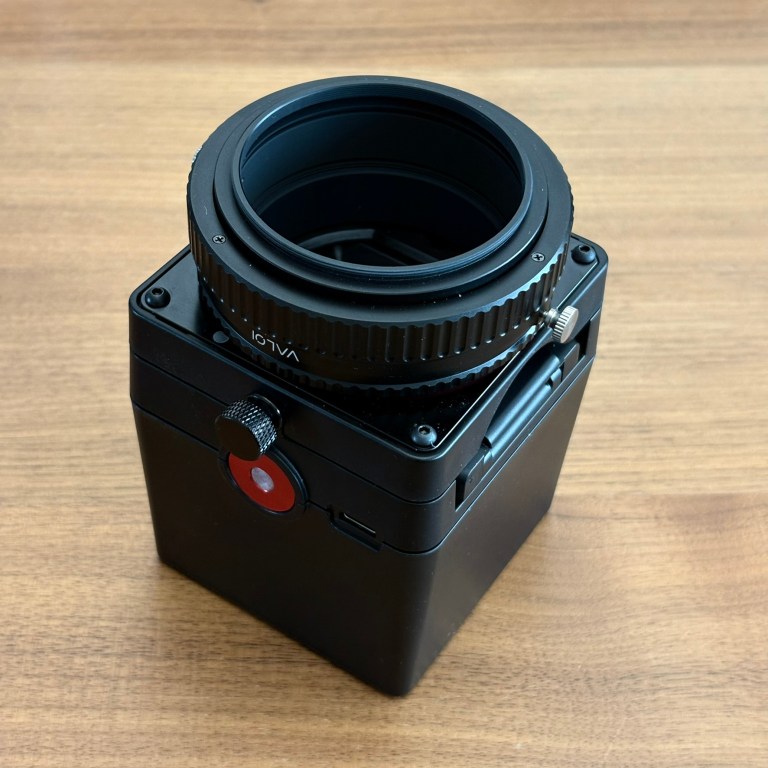
- 1 film chamber with an integrated rechargeable backlight.
- 7 extension tubes of varying heights.
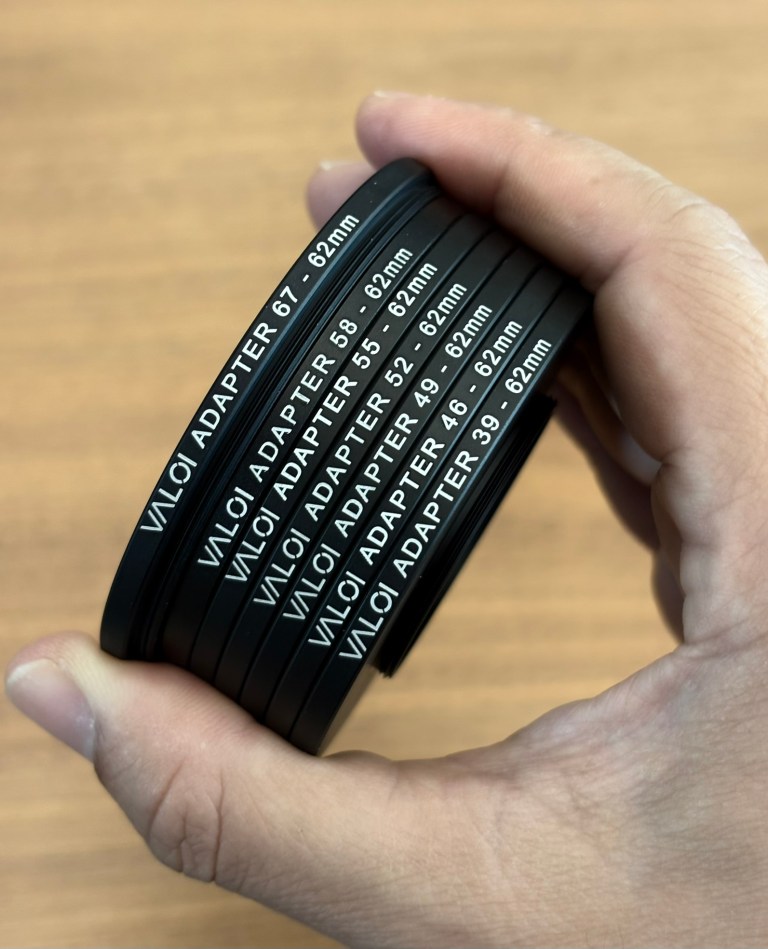
- 7 adapter rings (62mm thread) to attach the tubes to different lens filter diameters.
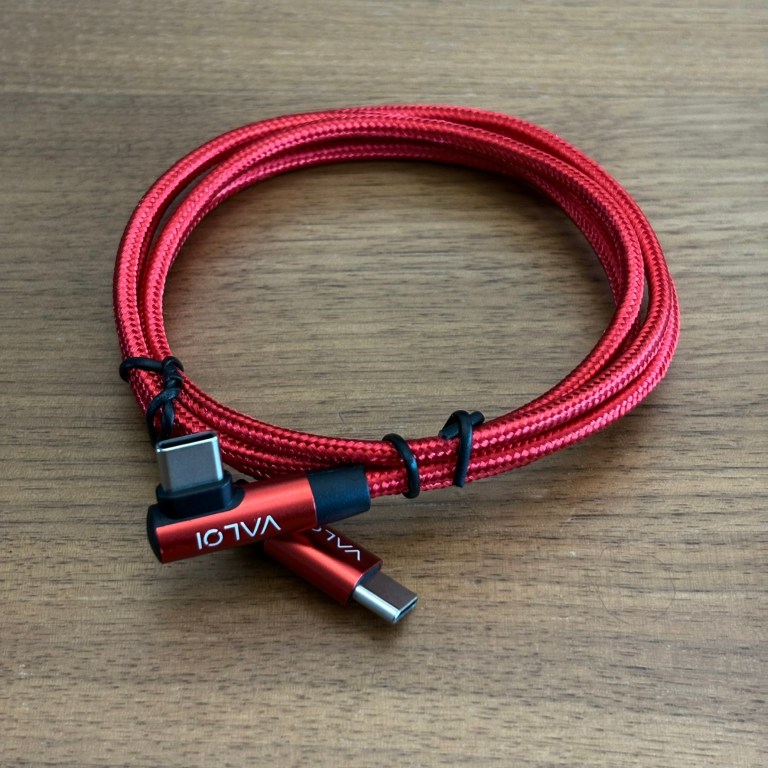
- 1 high-quality USB-C charging cable featuring a red color and the Valoi logo — a nice attention to detail.
- 1 instruction leaflet.

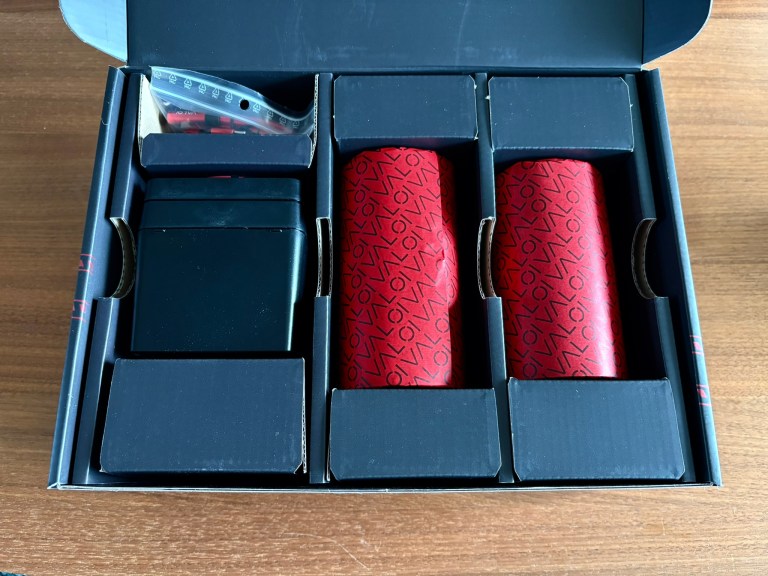
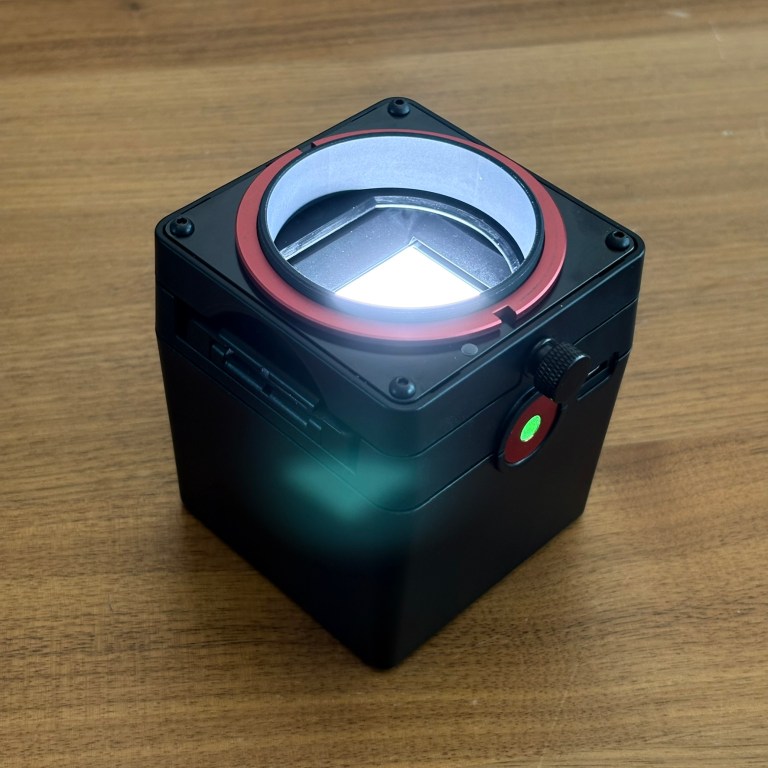
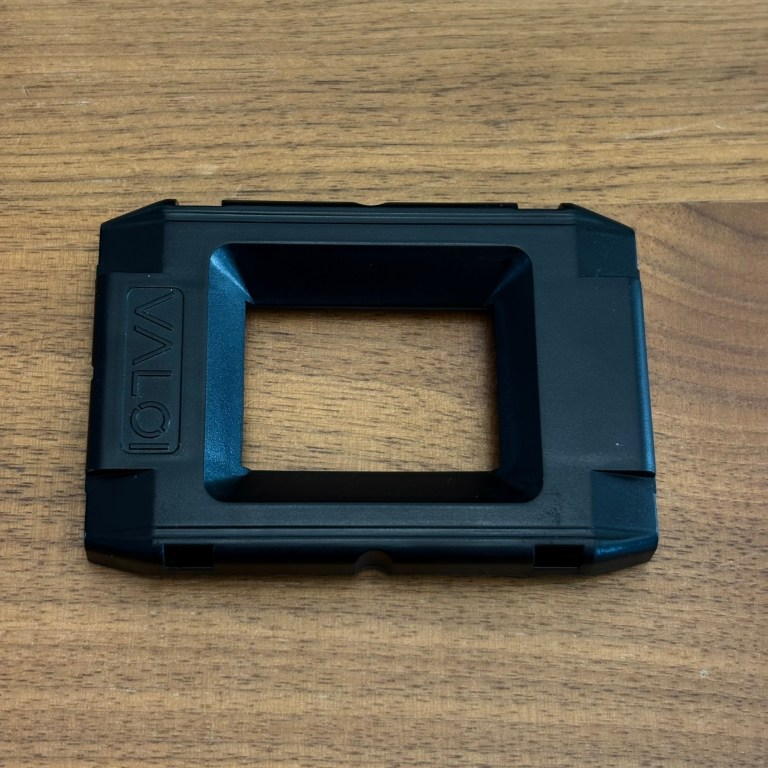
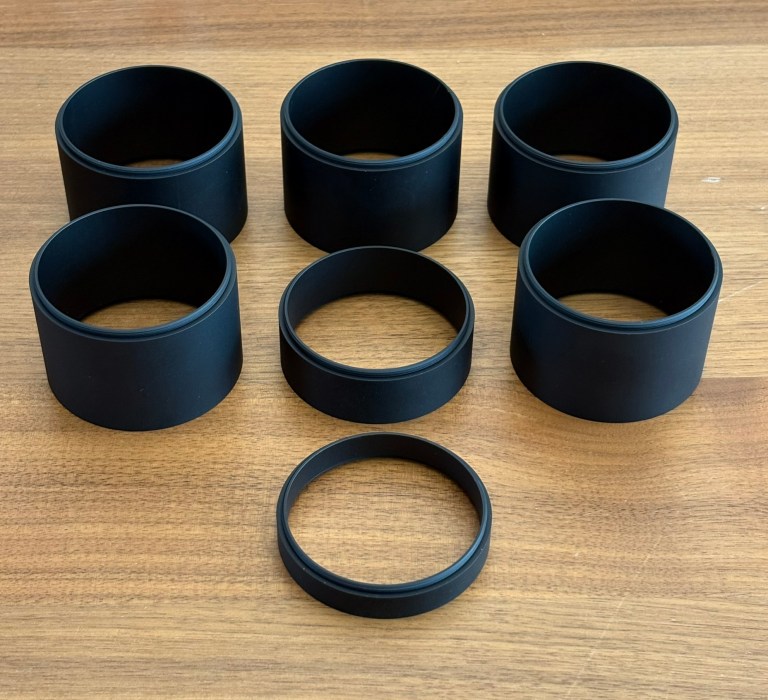

The instruction leaflet has basic information worth going through if you are a meticulous person like me. Otherwise, basically what you see in this product is what you get. Pretty straightforward.
But most importantly, the leaflet tells you the combination of extension tubes to use for your specific camera sensor size and lens focal length.
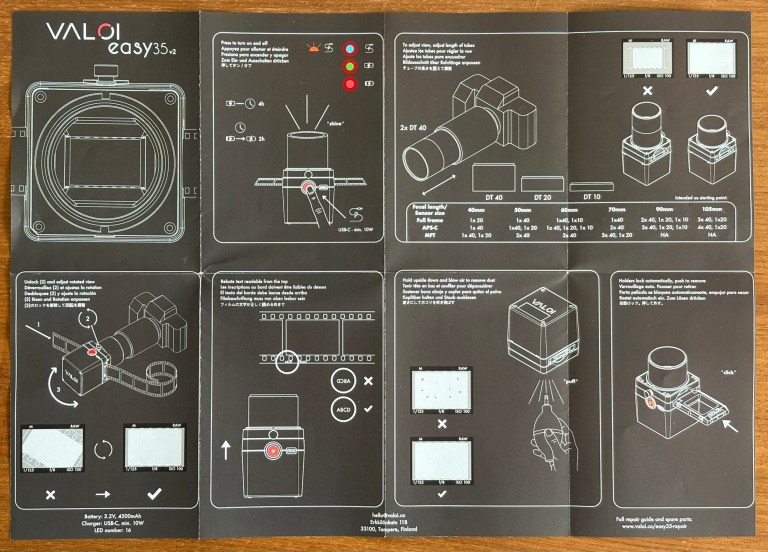

For my Fujifilm X-Pro3 (APS-C sensor) and 7Artisans 60mm f/2.8 Macro lens setup, the chart indicated I needed the DT 40, DT 20, and DT 10 extension tubes.
The 7Artisans lens has a 49mm filter thread, so I used the corresponding adapter ring.
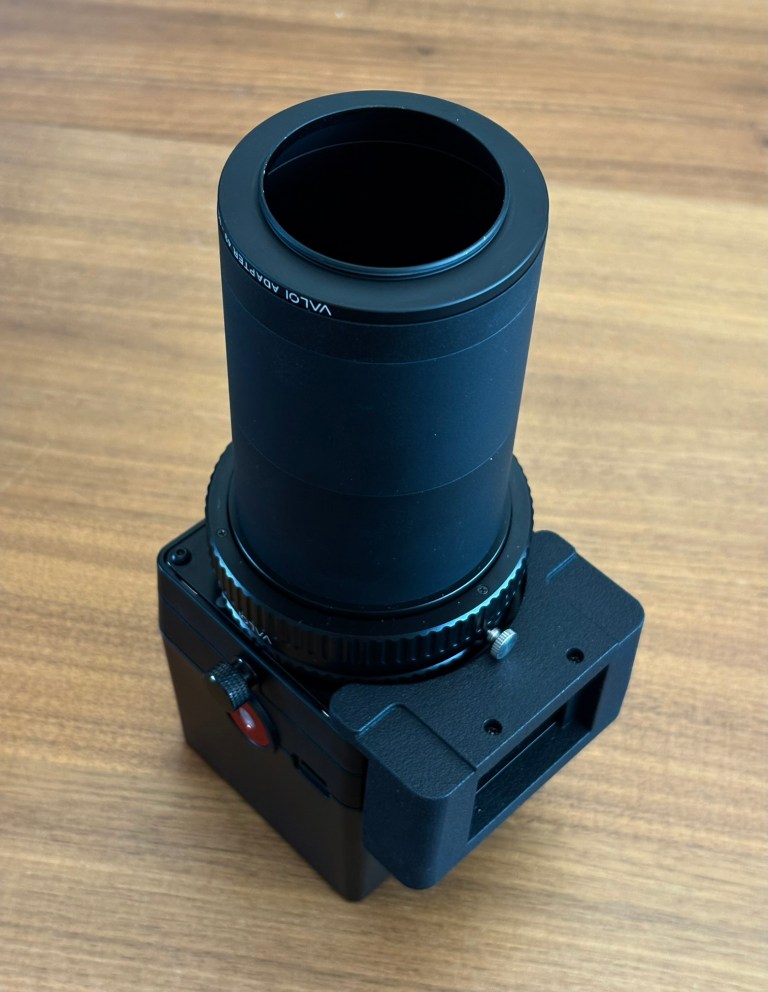
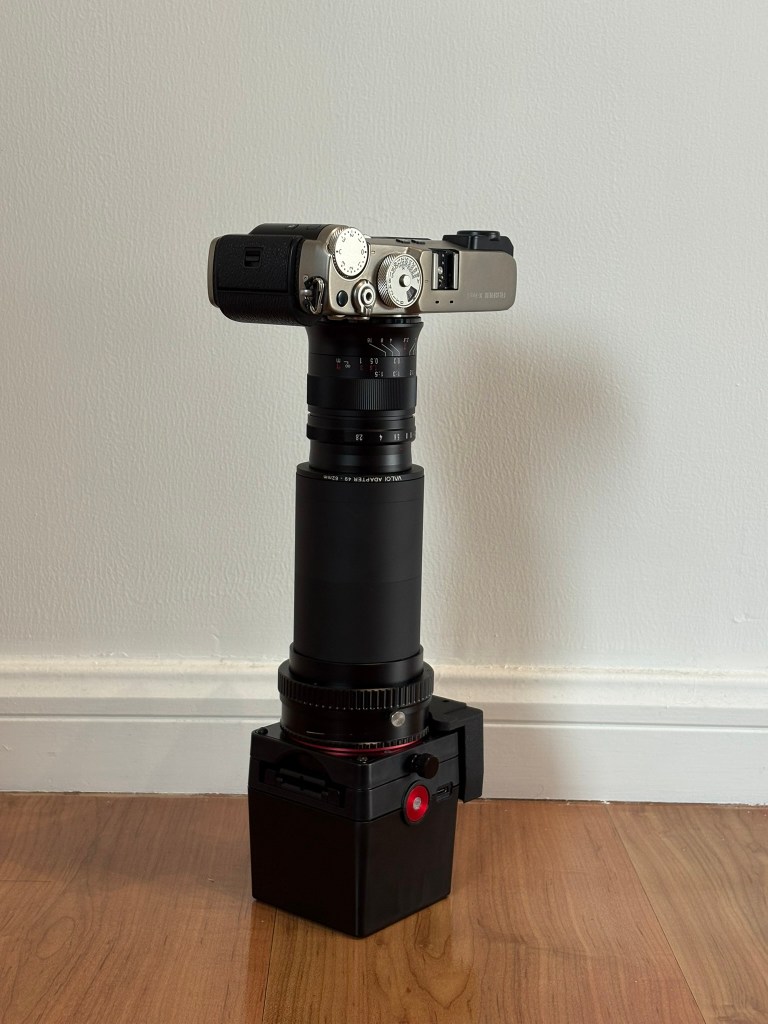
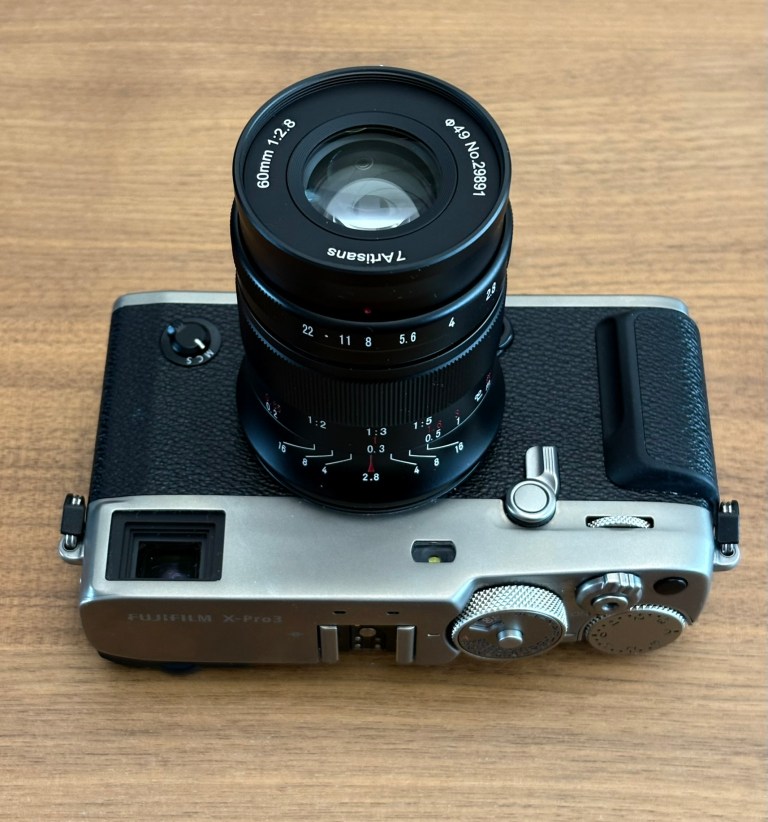
I bought this 7Artisans lens because it was specifically indicated on Valoi’s website as a compatible option for APS-C.
Many camera / lens combinations are referenced there for full-frame, APS-C or Micro 4/3. It’s great to be assured your system will work with their product.
Valoi’s website is full of useful information for beginners in camera scanning like me. Hats off for this.
Using it
Everything feels solidly built. The film chamber is made of plastic, but high-wear parts like the screws, attachment rings, extension tubes, on/off button and the Precision Framing Helicoid are made of steel and machined with good precision.

The film chamber works extremely well. The backlight is bright and evenly distributed across the entire frame, with no dark corners or uneven spots. This solves the primary issue common with cheaper alternatives.
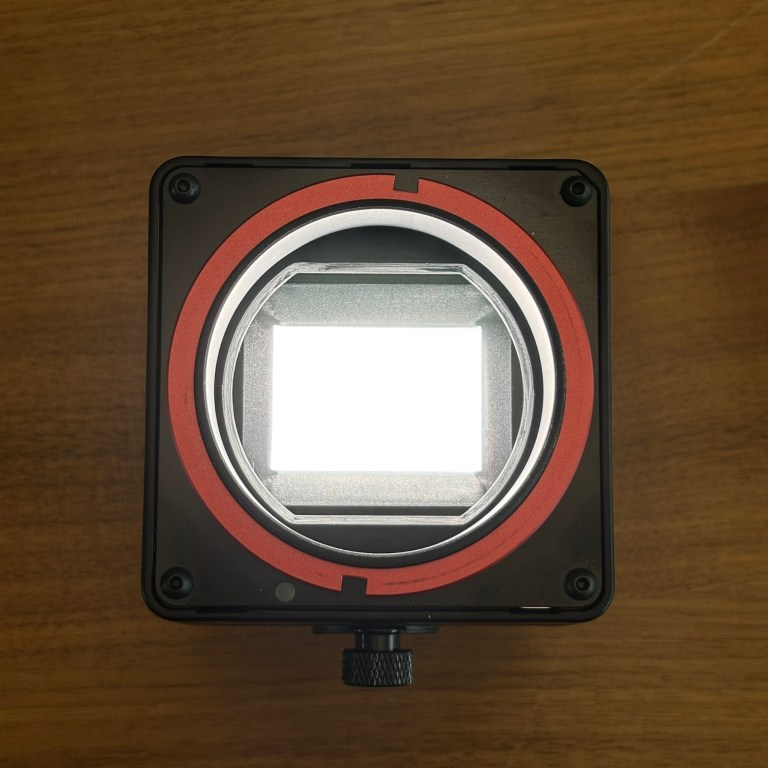
The film holder is good quality as well. Negatives slide in and out effortlessly. You have to micro adjust the negative’s orientation to ensure it’s horizontally levelled for framing. The negative film sits flat and parallel to the camera’s plane. I found no misalignment issues.
The Precision Framing Helicoid was essential for my setup. Without it, the camera got a bit too close and cropped the negative too much for my liking. The helicoid added the clearance needed to frame the entire negative and then micro-adjust to get closer for a slim border.
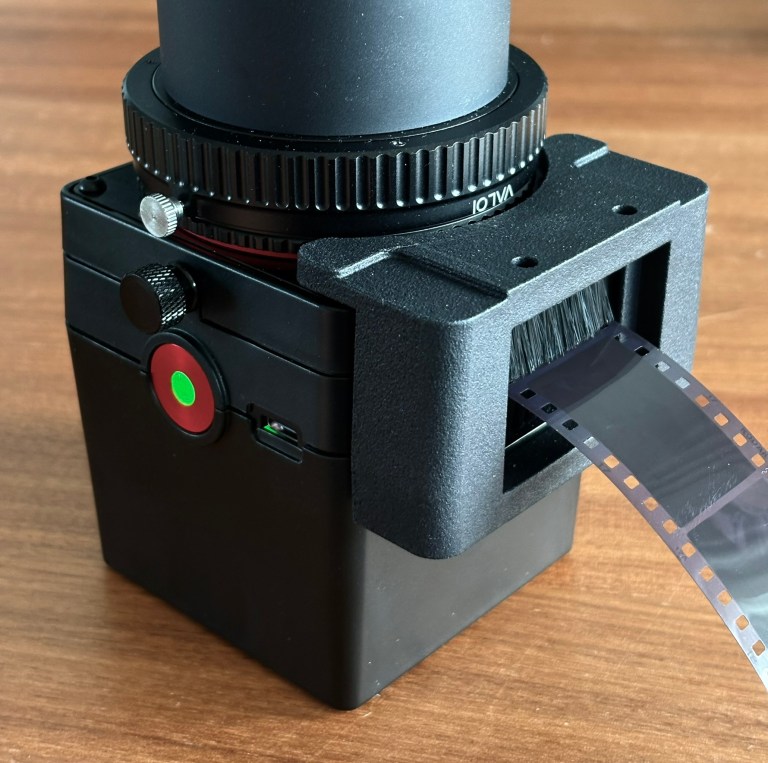
Concerning the Duster: it’s a 3D-printed plastic piece that attaches firmly via magnets — a clever design. Whether it contributed to my dust-free scans or my negatives were already clean, it is hard to confirm. All I can is the Duster works well and is a nice-to-have.
Workflow
Once the camera, lens and easy35 system were setup correctly, I initiated my workflow:
Focusing: I set the lens to its sweet spot at f/8. Then manual focus with focus peaking and zoom in on the live-view screen to ensure I nail focus on the film grain.
Stability: I use the electronic shutter and a 10-second self-timer to eliminate any micro-vibrations.
Metering: I have the camera set to its basic ISO to extract the best from the sensor. In the Fujifilm X-Pro3, it’s 160. Since ISO and aperture are fixed, the only variable in the exposure is the shutter speed.
Now this one deserves some researching.
Shooting a film negative is kinda counter-intuitive. You need to reset your brain because overexposing makes the final converted image darker, while underexposing makes it brighter.
You have to expose for the shadow areas. Some will tell you to overexpose by 1 to 2 stops to extract the maximum from the negative.
I’m using a specific techinique, which is to measure the exposure in a blank film rebate. Then overexpose it while live-checking the histogram, pushing it all the way to the right just enough not to have any highlight clipping – as is, just enough not to touch the far right wall of the histogram. Then I use the resulting shutter speed to shoot the entire roll for consistency, as advised by many.
So far so good. Time and experience will help me refine my craft.
Oh, one last thing before pressing the shutter: make sure you are shooting RAW.
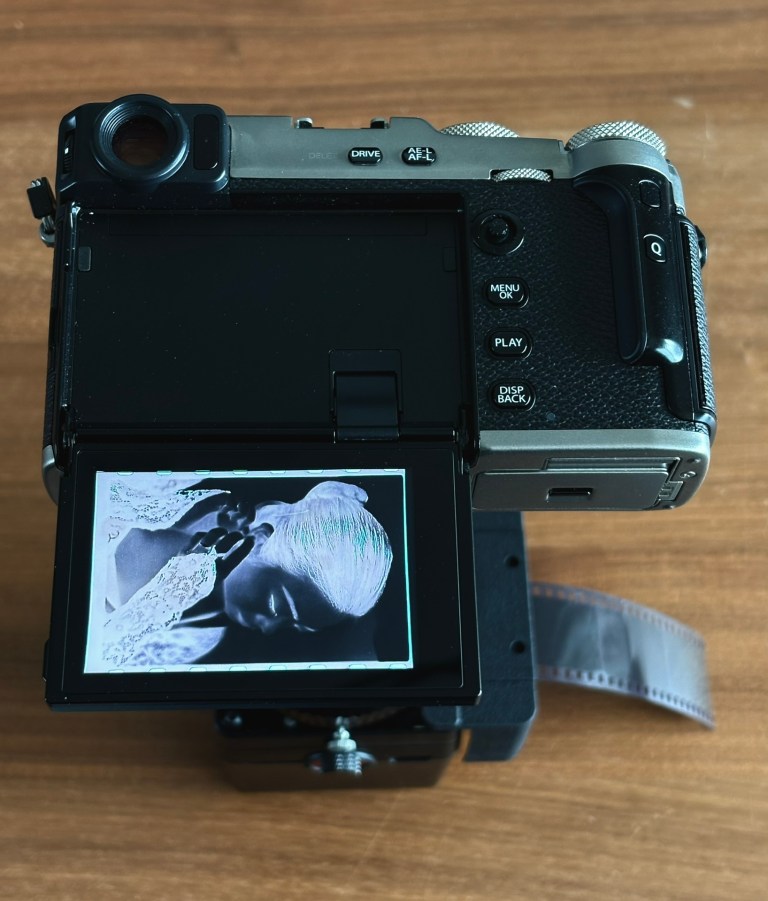
The workflow is simple and I achieved cruising speed in no time, machine-gunning an entire roll of 36 exposures efficiently.
Conversion
For conversion, I used Negative Lab Pro (NLP), a plugin that operates in Lightroom Classic platform.
NLP offers different preset color models and tone profiles for your conversion, such as Frontier and Noritsu. I had no idea what these names mean: they are professional-grade scanners commonly used in photo labs. Frontier is actually a model from Fujifilm.
When I got my first results… I was amazed.
The outputs were so, so, sooooo much better than the lab scans.
A photo is worth a thousand words. Or two photos, in this case. Just check below, lab vs my scan. Click for full magnification.

Sub-standard scan from the lab: high contrast, mid-tone details lost and excessive harsh grain.

My scan: straight out of NLP, no post-processing. The difference in quality is staggering.
For the sake of comparison, two more photos below, now with colour.

From the lab: washed out, overly bright with blown-out highlights.

My scan: again, straight out of NLP with no post-processing. Punchier, more details, rich colours.
Beyond the differences in image quality, I noticed the lab scans cropped out a significant portion of the original frame. This is yet another reason to switch to camera scanning at home!
Verdict
Buying the Valoi easy35 v2 was money well spent. The system is well-built, provides enough precision for high quality camera scans.
And it’s so easy to setup and use. There is really nothing I’d like to see improved. Everything works extremely well.
Paired with my Fujifilm X-Pro3, the 7Artisans 60mm macro lens and NLP, the results are a night-and-day difference compared to my local lab’s scans.
If you shoot film and want control over your final images, this setup is well worth trying.